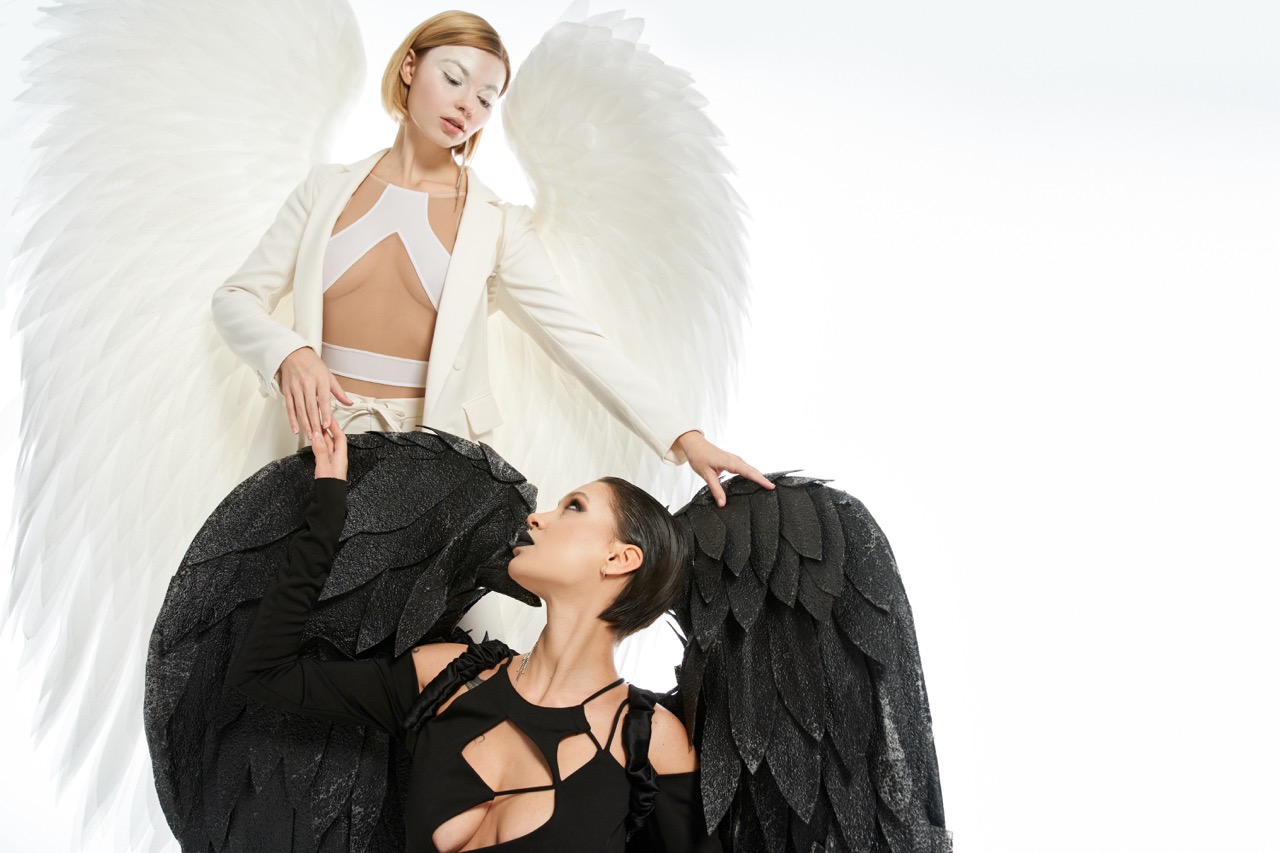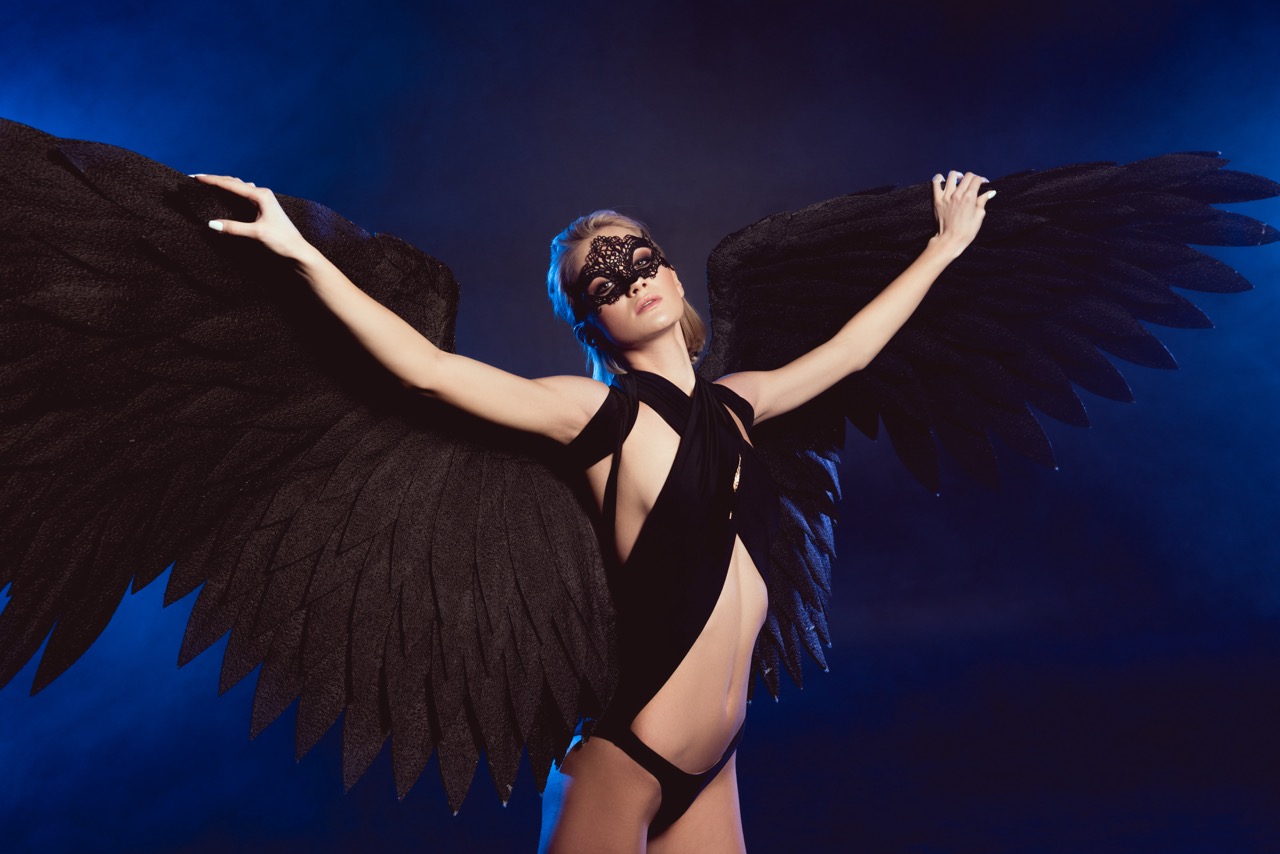
Dance is a wondrous form of expression, allowing individuals to convey emotions, stories, and cultural legacies through movement. Among the many elements that can enhance a dancer’s performance, few are as visually striking as dance wings. These flowing appendages elevate any routine, capturing the audience’s attention with their enchanting movements. For beginners eager to explore their artistic side, creating DIY dance wings can be a fulfilling project. This article will guide you through the process of crafting your very own wings, from gathering materials to adding personal touches.
Unleashing Your Creativity: The Art of DIY Dance Wings
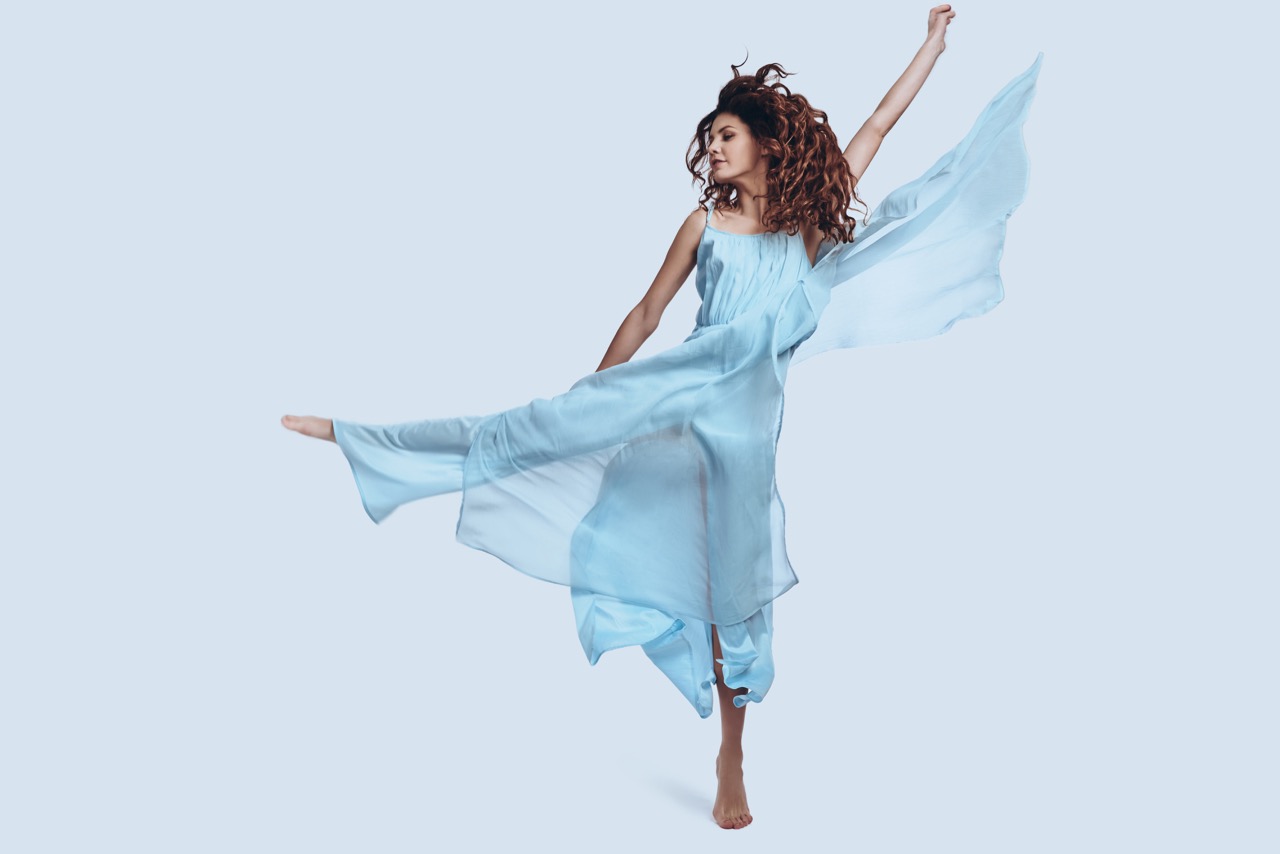
Creating DIY dance wings is not just about the final product; it is a journey of self-expression and creativity. When you embark on this project, you’re not just assembling fabric and materials; you are weaving your personality into every stitch and fold. The beauty of dance wings lies in their versatility. Depending on the style of dance, the fabric choice, and your artistic vision, the wings can range from ethereal and flowing to vibrant and dramatic. This endeavor opens a world of possibilities, allowing you to explore various themes and colors that resonate with your dance style.
Additionally, making your own wings encourages a deeper connection to your art. As you craft, you’ll find that the act of creation enhances your appreciation for the performance itself. You are not just a dancer; you’re an artist in every sense. This hands-on process allows for experimentation, enabling you to discover what materials and designs best embody your unique style. Whether you want something minimalist or exuberant, every choice reflects your personal aesthetic, turning your dance wings into a true extension of yourself.
Finally, the satisfaction derived from making something with your own hands is immeasurable. The pride you feel when you take the stage with your homemade wings is unparalleled. It’s not just about the dance; it’s about the journey of creation that leads to a powerful performance, making every movement feel more significant. So gather your materials and let your imagination take flight, for the world of DIY dance wings awaits!
Essential Materials and Tools for Your Dance Wing Project
Before diving into the creative process, it’s crucial to gather all the necessary materials and tools for your DIY dance wings. A variety of fabrics can be used, with silk, chiffon, and organza being popular choices due to their lightweight and flowing characteristics. Additionally, consider the colors and patterns that resonate with your personal style; vibrant hues or subtle pastels can dramatically shift the aesthetic of your wings. Aim for at least two to three yards of fabric for a standard pair of wings, allowing ample room for draping.
In addition to fabric, you will need a few structural elements to give your wings form. Lightweight wooden dowels or PVC pipes serve as the framework, providing the necessary support without adding excessive weight. A pair of sturdy ribbons or straps will also be essential for securing the wings to your arms. Beyond the basics, don’t forget to include essentials like scissors, a ruler, a sewing kit or fabric glue, and possibly embellishments like sequins or feathers to add some flair.
Lastly, consider your workspace. A flat, well-lit area where you can spread out your materials and work comfortably is ideal. Having a sewing machine on hand can expedite the process, but hand sewing is also a perfectly valid option, especially for beginners. The key is to ensure you have everything you need before you start crafting, which will make the process smoother and more enjoyable.
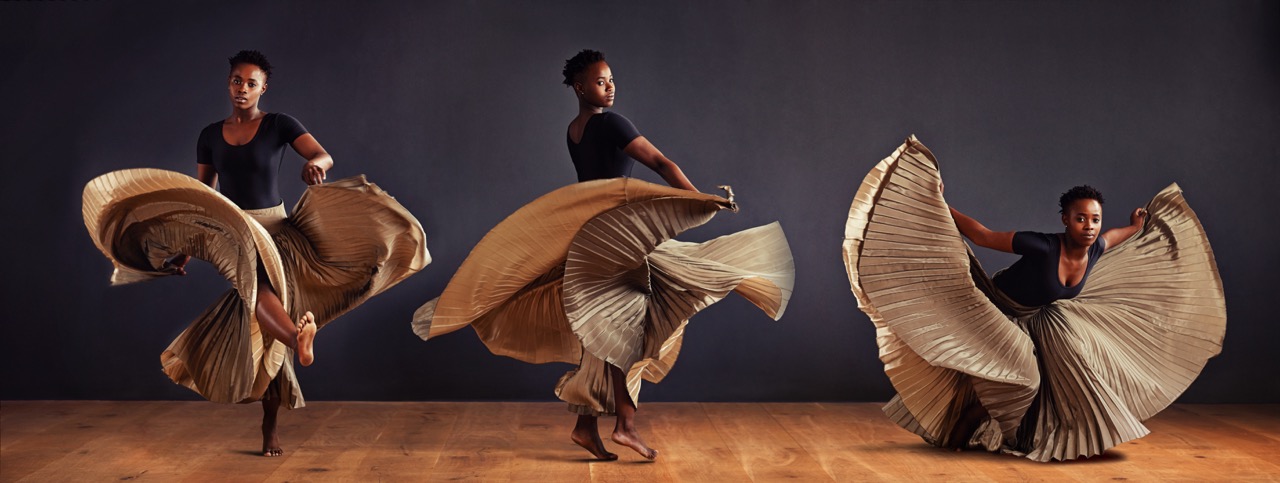
Step-by-Step Guide: Crafting Your First Pair of Wings
Now that you have your materials ready, it’s time to dive into the step-by-step process of creating your dance wings. Start by cutting your chosen fabric into rectangular pieces. The dimensions will vary based on personal preference, but a common size is 3 feet wide by 6 feet long for each wing. Once you have your fabric cut, fold it in half lengthwise to create a clean edge, and secure it with pins along the sides before sewing or gluing.
Next, prepare your support structure. Measure and cut your dowels or PVC pipes to your desired length, typically around 4 to 5 feet for a dramatic effect. Attach the fabric to the dowels by folding the top edge over the pole and securing it with fabric glue or stitching. Be sure to leave a little slack so that the fabric can flow freely. To create a wing shape, you may want to angle the dowels slightly outward, giving your wings a more dynamic appearance.
Finally, add the finishing touches by attaching ribbons or straps to the ends of the dowels for easy wear. You can also sew or glue additional embellishments like sequins, beads, or feathers to enhance the visual appeal of your wings. Once everything is secure, try on your wings and practice moving with them. Adjust as necessary to ensure comfort and functionality. With patience and creativity, you’ll have a stunning pair of wings ready to take your dance performance to new heights!
Adding Flair: Customization Tips to Elevate Your Dance Wings
Customization is where the magic happens, allowing you to infuse your personal flair into your DIY dance wings. One exciting way to customize your wings is through the use of colors and patterns. Consider dying your fabric or using fabric paint to create unique designs that reflect your personality. Tie-dye or ombre effects can yield stunning results that catch the light beautifully during performances. If you’re feeling adventurous, stenciling designs or even hand-painting motifs can elevate the artistic quality of your wings.
In addition to color, the choice of embellishments can transform your wings into a dazzling spectacle. Sequins, beads, and rhinestones can be sewn or glued onto the fabric, catching the eye as you move. Layers of different fabrics can also create depth and texture. Consider adding elements like feathers or lace for a more dramatic effect. The key is to balance the embellishments with the overall design; too much can overwhelm, while just the right amount can accentuate the beauty of your creation.
Lastly, think about how your wings interact with your dance movements. Adding weighted elements or strategically placed cuts can enhance the flow of the fabric, allowing it to move gracefully with your body. Experiment with different shapes and sizes to see what feels best during your performance. Remember that customization is an ongoing process; as you grow in your dance journey, so too can your wings evolve. Embrace the creative freedom and let your dance wings reflect the dancer you are becoming!
Creating DIY dance wings is a rewarding project for beginners and seasoned artists alike. Not only do they serve as a stunning visual element during performances, but the process of making them fosters creativity and personal expression. By following the steps outlined in this article—from gathering materials to customizing your wings—you can craft a unique accessory that enhances your dance journey. Embrace the art of creation and allow your wings to take you to new heights on the dance floor. So, soar high, dance freely, and let your creativity shine through every movement!