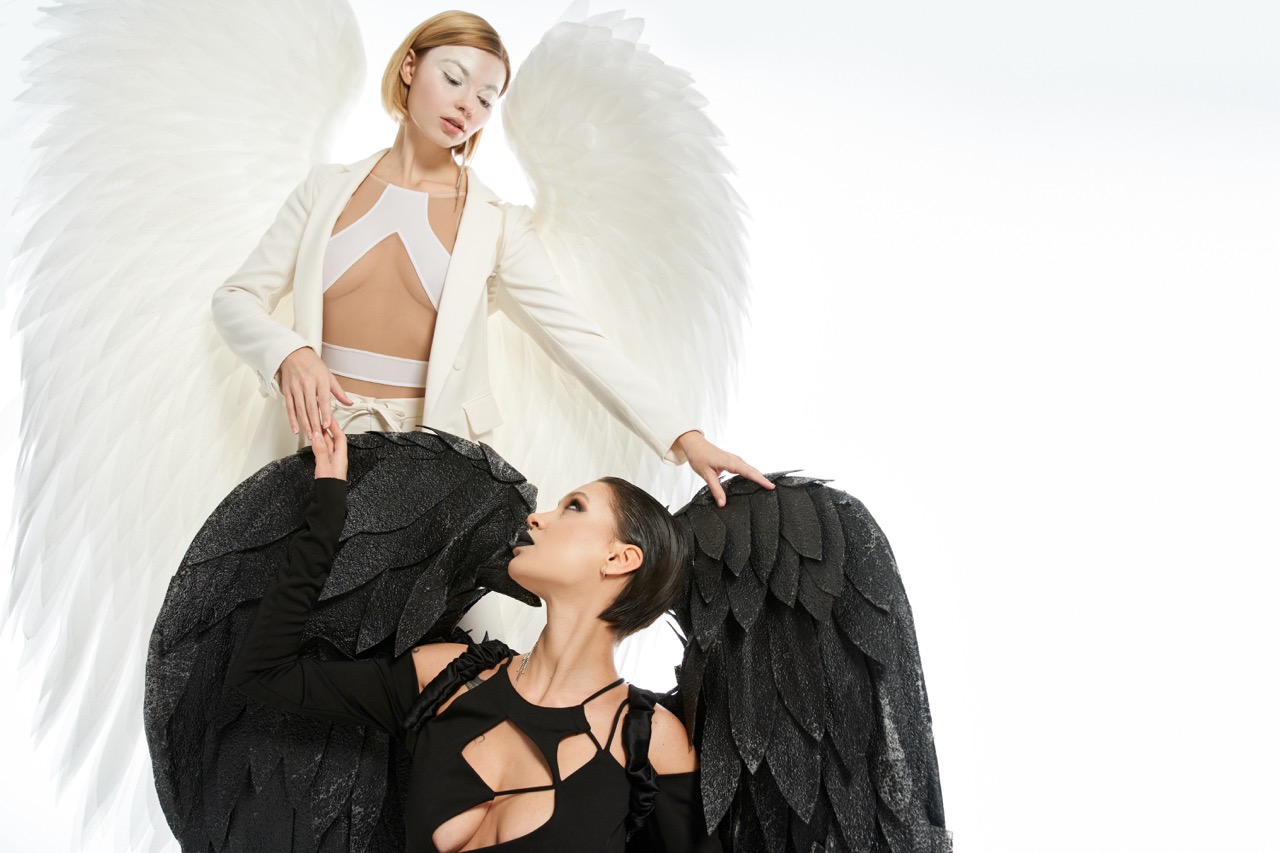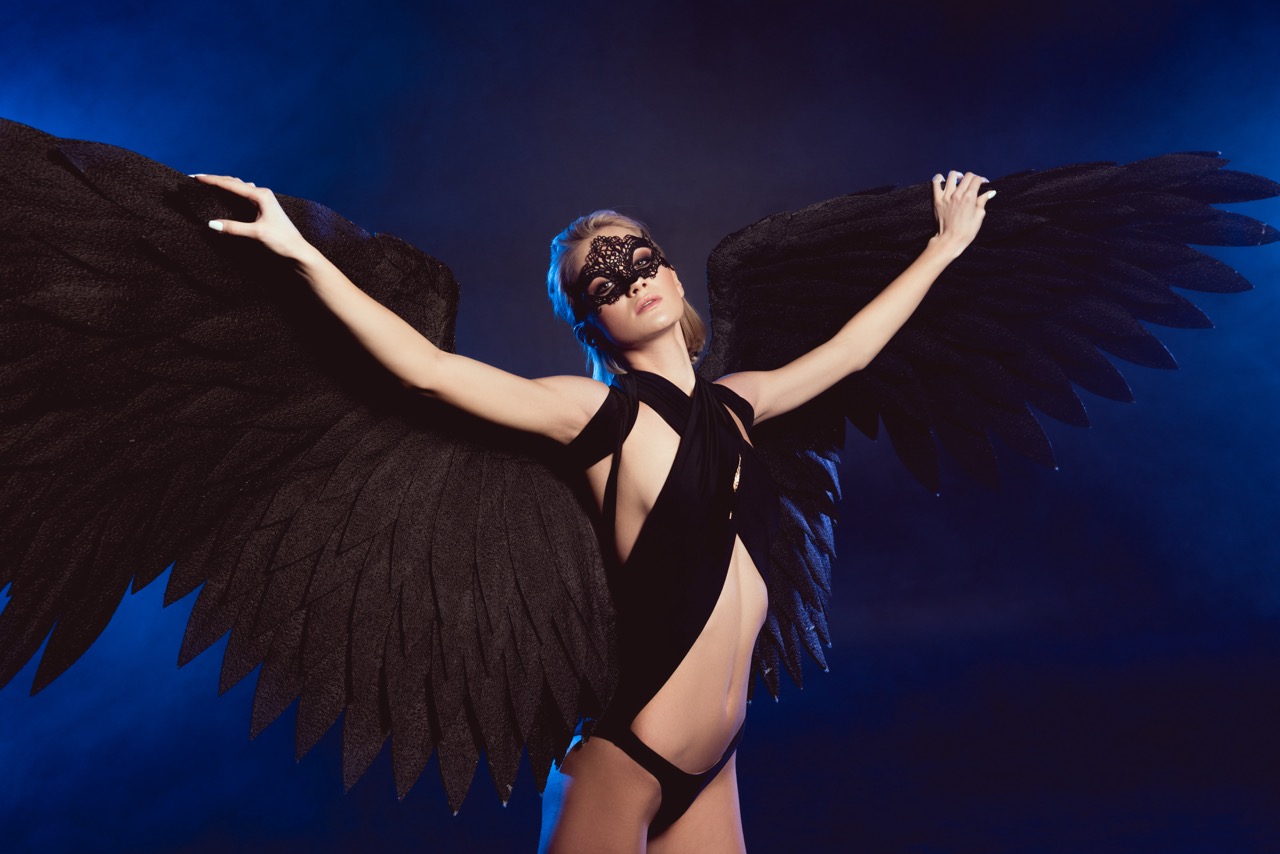
Dance is an expressive art form that transcends mere movement, allowing performers to convey emotions, tell stories, and mesmerize audiences. One captivating accessory that elevates any dance performance is the dance wing. These flowing wings create an enchanting visual spectacle, adding depth and drama to your routine. In this beginner’s guide, we will explore the magic of DIY dance wings, offering easy instructions and helpful tips to bring your vision to life. Get ready to unleash your creativity and enhance your dance performances with stunning custom-made wings!
Discover the Magic of DIY Dance Wings: A Beginner’s Guide
Creating your own dance wings offers more than just a way to enhance your performance; it is also an opportunity for personal expression. With a range of styles, colors, and fabrics to choose from, you can design wings that reflect your unique personality and artistic vision. Whether you’re preparing for a theatrical performance, a dance recital, or simply want to add flair to your practice sessions, DIY dance wings can be tailored to suit your specific needs.
Moreover, crafting your wings can be a therapeutic and rewarding experience. The process allows you to engage with your artistic side, making thoughtful decisions about color and design as you stitch together the fabric of your ideas. For beginners, this guide will take you step by step through the creation process, ensuring that your experience is both enjoyable and fulfilling. So, roll up your sleeves and get ready to embark on this creative journey!
Finally, as you dive into the world of DIY dance wings, remember that the joy of creating is as important as the final product. Embrace the learning process and don’t hesitate to experiment with different designs. As you gain confidence in your crafting abilities, you may find yourself inspired to create additional accessories or explore other forms of dance artistry.
Essential Materials and Tools for Crafting Your Wings
Before you dive into crafting your dance wings, it’s crucial to gather all the necessary materials and tools to make the process smooth and enjoyable. First, you’ll need a suitable fabric; lightweight materials like silk, chiffon, or organza work beautifully for creating flowing wings that catch the light. Consider selecting colors that complement your dance costume or that enhance the theme of your performance.
Next, you’ll need a sturdy pair of curtain rods or bamboo poles to serve as the framework for your wings. These will provide the necessary structure, allowing you to manipulate your wings as you dance. Additionally, you’ll require scissors for cutting the fabric, a sewing machine or needle and thread for stitching, and optionally, fabric glue for any no-sew areas. Don’t forget a measuring tape or ruler to ensure your wings are symmetrical and the right size for your frame.
Lastly, consider adding embellishments such as sequins, beads, or glitter to give your wings a touch of glamour. These decorative elements can be sewn onto the fabric or applied using fabric glue. As you gather your materials, also create a designated space to work—having a clean, organized area will help you focus on your project and bring your dance wings to life.
Step-by-Step Instructions to Create Stunning Dance Wings
Once you have all your materials ready, it’s time to begin crafting your dance wings! Start by measuring the length and width you desire for your wings. A common size is approximately 2 to 3 yards in width and 1.5 to 2 yards in length, but feel free to adjust according to your preference. Cut two pieces of fabric to match these dimensions, making sure to have matching fabric for both sides of your wings.
Next, take your curtain rods or bamboo poles and attach them to the top edges of your fabric. Lay the fabric flat, and pin the rods in place, ensuring they are centered and even. If you’re using a sewing machine, sew a straight stitch along the top edge of the fabric to secure the rods. For a no-sew option, you can use fabric glue to secure the fabric around the rods. Once attached, fold the fabric over the rods to create a pocket, ensuring a clean finish.
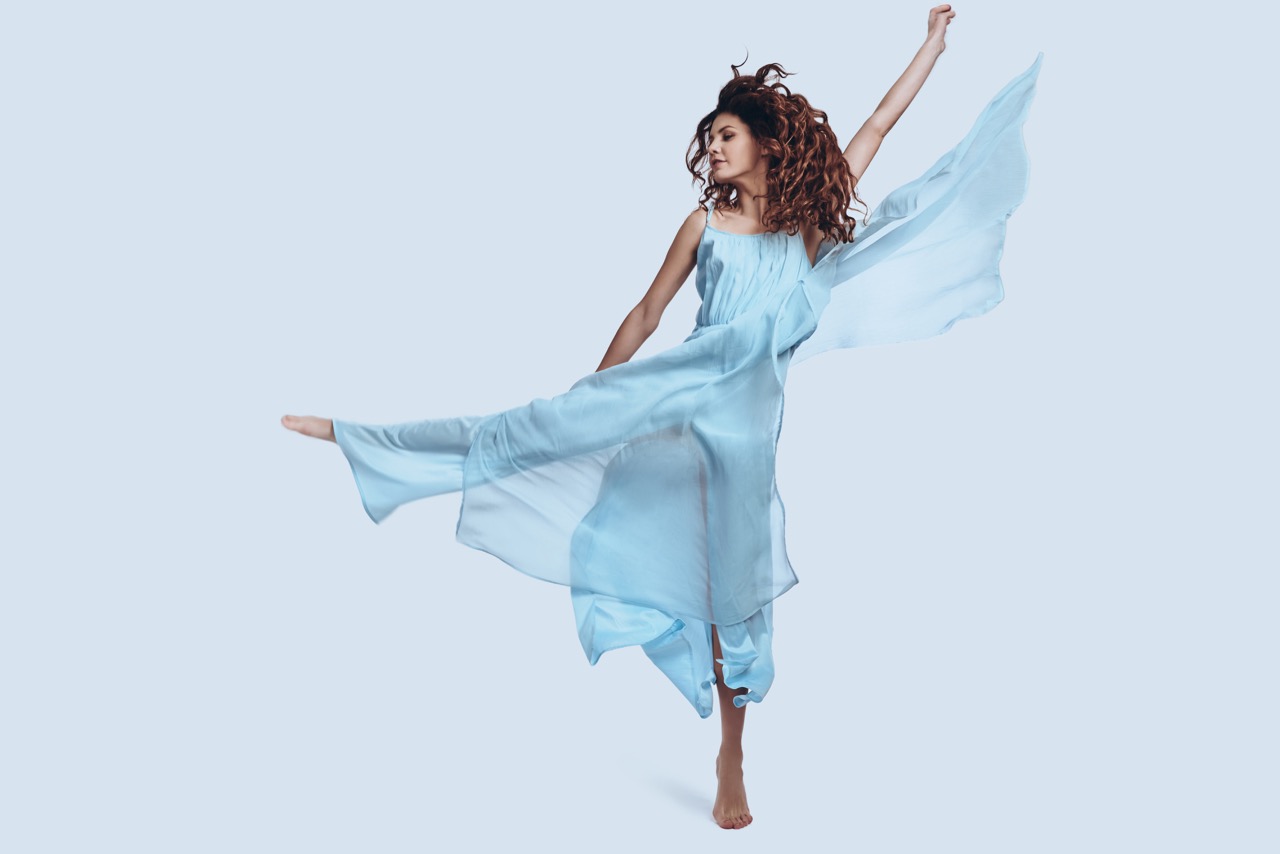
After securing the rods, it’s time to create the wing shape. You can achieve this by gathering the fabric at the center and tying it with ribbon or string, giving your wings a beautiful flowing effect. Finally, add any embellishments or decorative touches to personalize your wings. Once complete, hold your wings by the rods and practice moving them gracefully as you dance, allowing your creativity to soar!
Tips and Tricks for Perfecting Your Dance Wing Performance
With your stunning dance wings ready, it’s time to focus on how to incorporate them into your performances effectively. Begin by practicing your movements in front of a mirror. This will help you become aware of how your wings flow and interact with your body as you dance. Pay close attention to timing; your wing movements should complement your choreography, enhancing the overall visual impact of your routine.
Additionally, consider the space you will be performing in. If you’re dancing indoors, ensure that you have enough room to spread your wings fully without any obstructions. For outdoor performances, be mindful of the wind, as it can create unexpected challenges. Practicing in various settings will help you adapt and make necessary adjustments to your routine so your performance remains captivating regardless of the environment.
Finally, don’t forget to express yourself while you dance! Dance wings are not just an accessory; they are an extension of your artistic expression. Allow your emotions to guide your movements, and let the wings flutter and flow with your body. With practice, confidence, and creativity, you’ll soon find that your DIY dance wings will become a beautiful part of your dancing repertoire, mesmerizing both you and your audience.
Creating your own dance wings is an empowering and enjoyable endeavor that can significantly enhance your dance performances. By following this beginner’s guide, you can craft stunning wings tailored to your unique style, allowing you to express yourself in new and exciting ways. Remember, the journey of creativity is just as important as the final product, so embrace every step of the process. As you dance under the weight of your beautifully crafted wings, let the magic of your artistry take flight!